How to use OpenCV in Swift (2)
Swift OpenCV XcodeThis is a continuation of my previous post.
Step 5
Create a header file to use OpenCV.
// OpenCVTest-Briding-Header.h
#import <Foundation/Foundation.h>
#import <UIKit/UIKit.h>

@interface ImageConverter : NSObject
+(UIImage *)ConvertImage:(UIImage *)image;
@end
Step 6
Next, prepare the content of defined method.
To use OpenCV, we have to write C++, so change the extension from m to mm.
// ImageConverter.mm
#import <Foundation/Foundation.h>
#import <UIKit/UIKit.h>

#import "OpenCVTest-Bridging-Header.h"

#import <opencv2/opencv.hpp>
#import <opencv2/imgcodecs/ios.h>

@implementation ImageConverter : NSObject

+(UIImage *)ConvertImage:(UIImage *)image {
    cv::Mat mat;
    UIImageToMat(image, mat);

    cv::Mat gray;
    cv::cvtColor(mat, gray, CV_RGB2GRAY);

    cv::Mat bin;
    cv::threshold(gray, bin, 0, 255, cv::THRESH_BINARY | cv::THRESH_OTSU);

    UIImage *binImg = MatToUIImage(bin);
    return binImg;
}

@end
Step 7
Add some modifications to ViewController.swift
to take a shot when tapping a button.
import UIKit
import AVFoundation

class ViewController: UIViewController, AVCaptureVideoDataOutputSampleBufferDelegate {

    // ...

    var taken: Bool = false

    // ...

    @IBAction func take(_ sender: Any) {
        if !self.taken {
            self.taken = true
            self.imageView.image = ImageConverter.convert(self.imageView.image)
        }
    }

    // ...

    func captureOutput(_ captureOutput: AVCaptureOutput!, didOutputSampleBuffer sampleBuffer: CMSampleBuffer!,
                       from connection: AVCaptureConnection!) {
        DispatchQueue.main.async(execute: {
            if !self.taken {
                let image: UIImage = CameraUtil.imageFromSampleBuffer(buffer: sampleBuffer)
                self.imageView.image = image;
            }
        })
    }
}
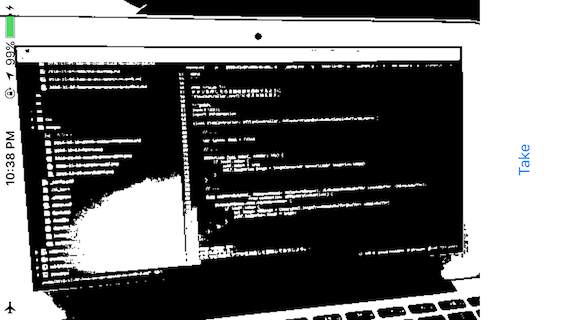
Step 8
Well done!
Let’s start your app and check it.
If you can take a black-and-white picture as below, your app works fine.